Spot UV is a fantastic way to add a premium, glossy finish to specific areas of your design—like your logo, text, or a subtle background pattern. Just like hot stamping, achieving that perfect, shiny raised effect requires a specific file setup.
Here is how to quickly and easily set up your artwork for Spot UV printing:
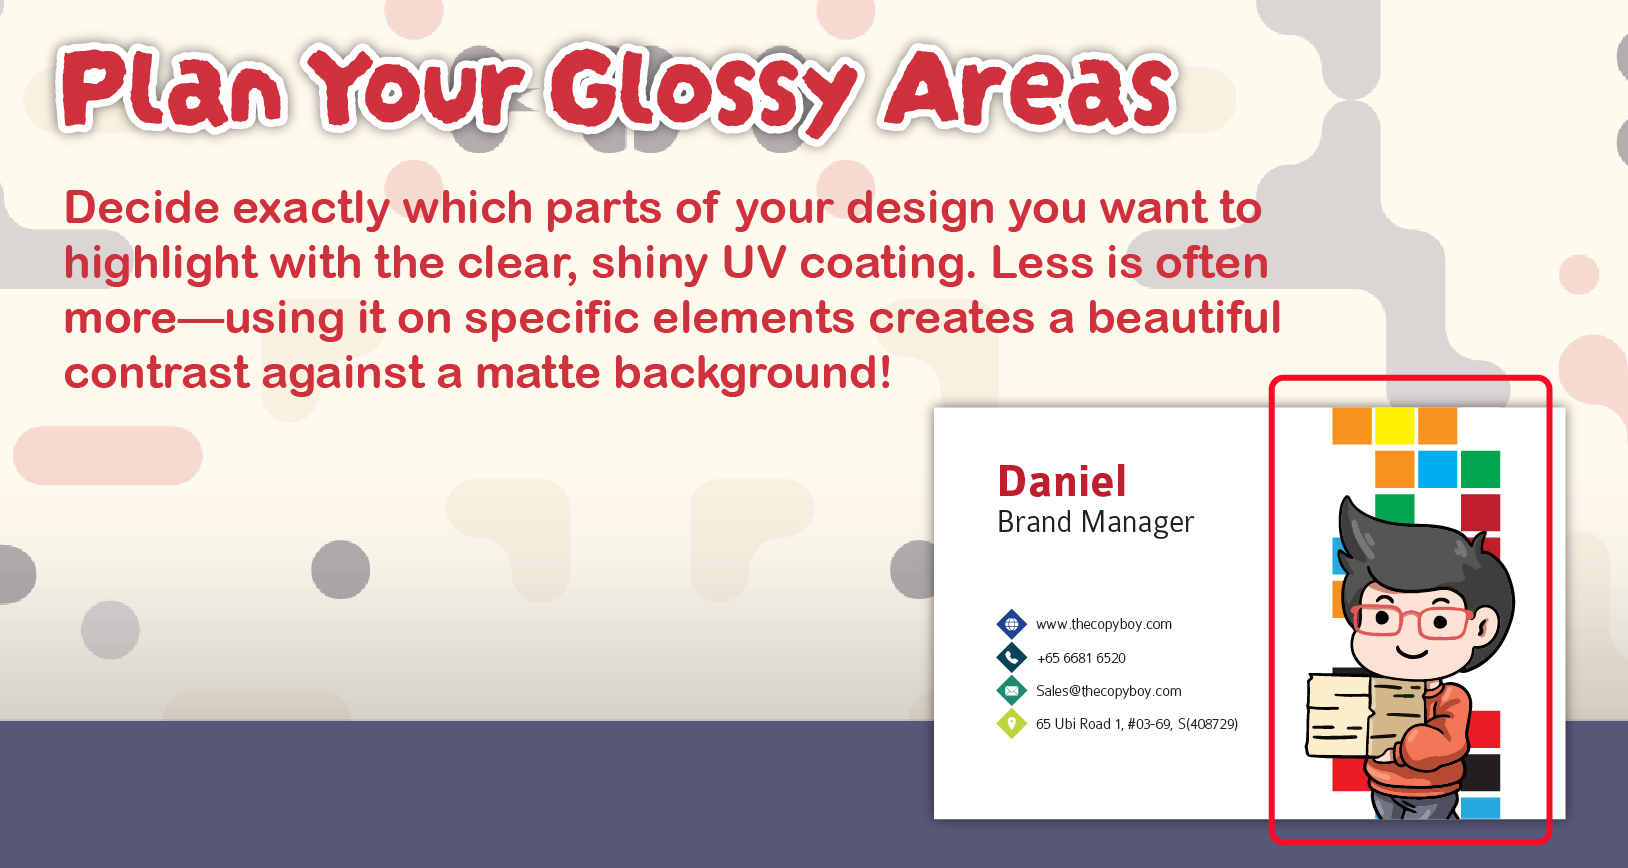
1. Plan Your Glossy Areas
Decide exactly which parts of your design you want to highlight with the clear, shiny UV coating. Less is often more—using it on specific elements creates a beautiful contrast against a matte background!
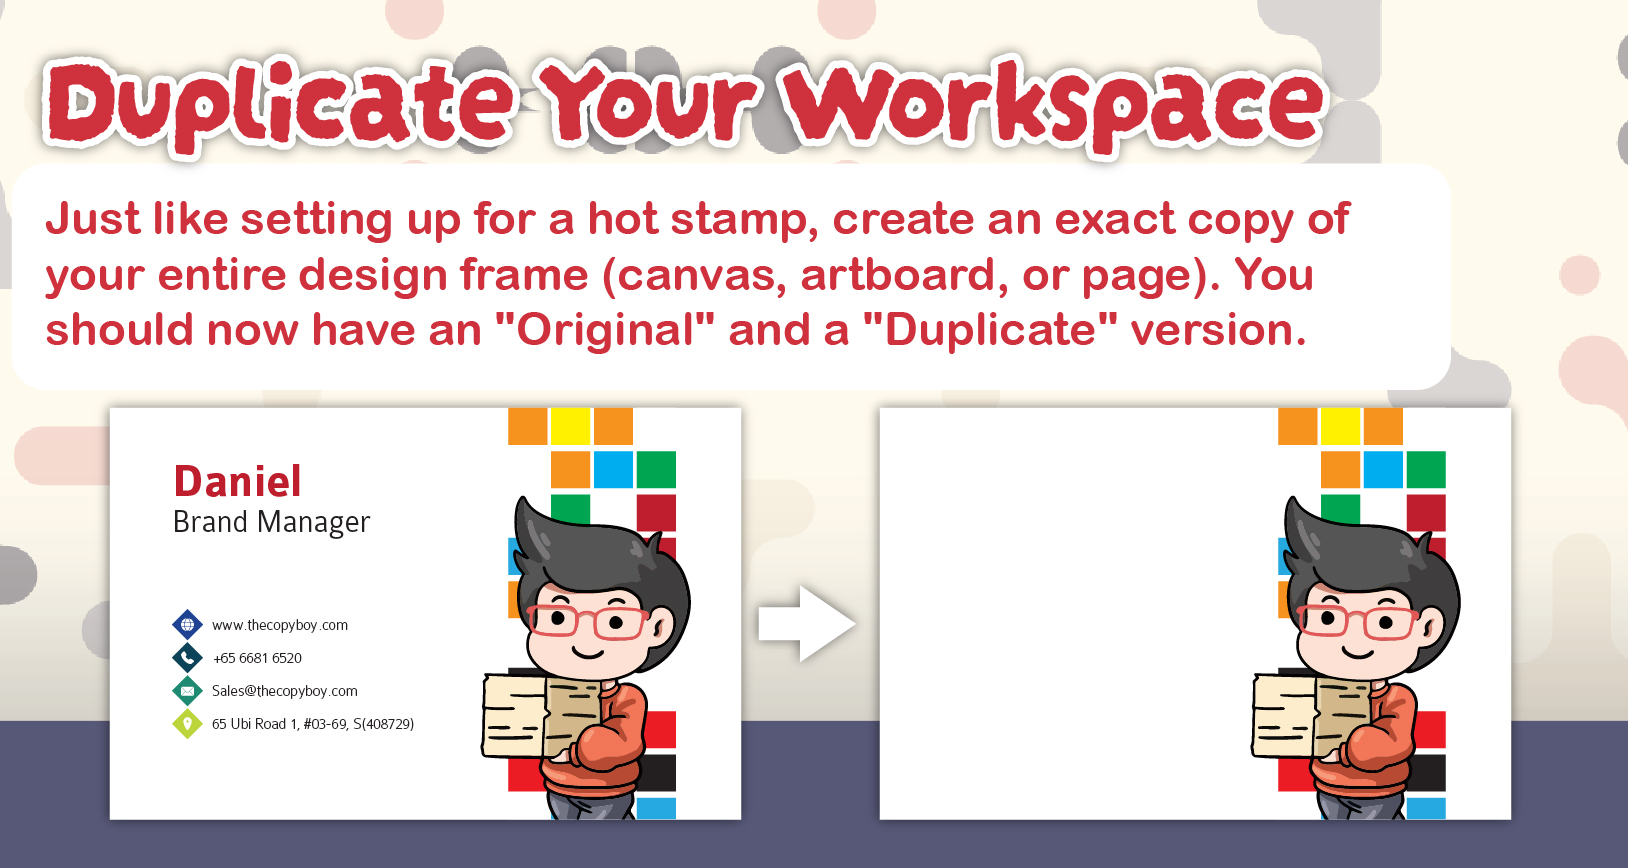
2. Duplicate Your Workspace
Just like setting up for a hot stamp, create an exact copy of your entire design frame (canvas, artboard, or page). You should now have an “Original” and a “Duplicate” version.
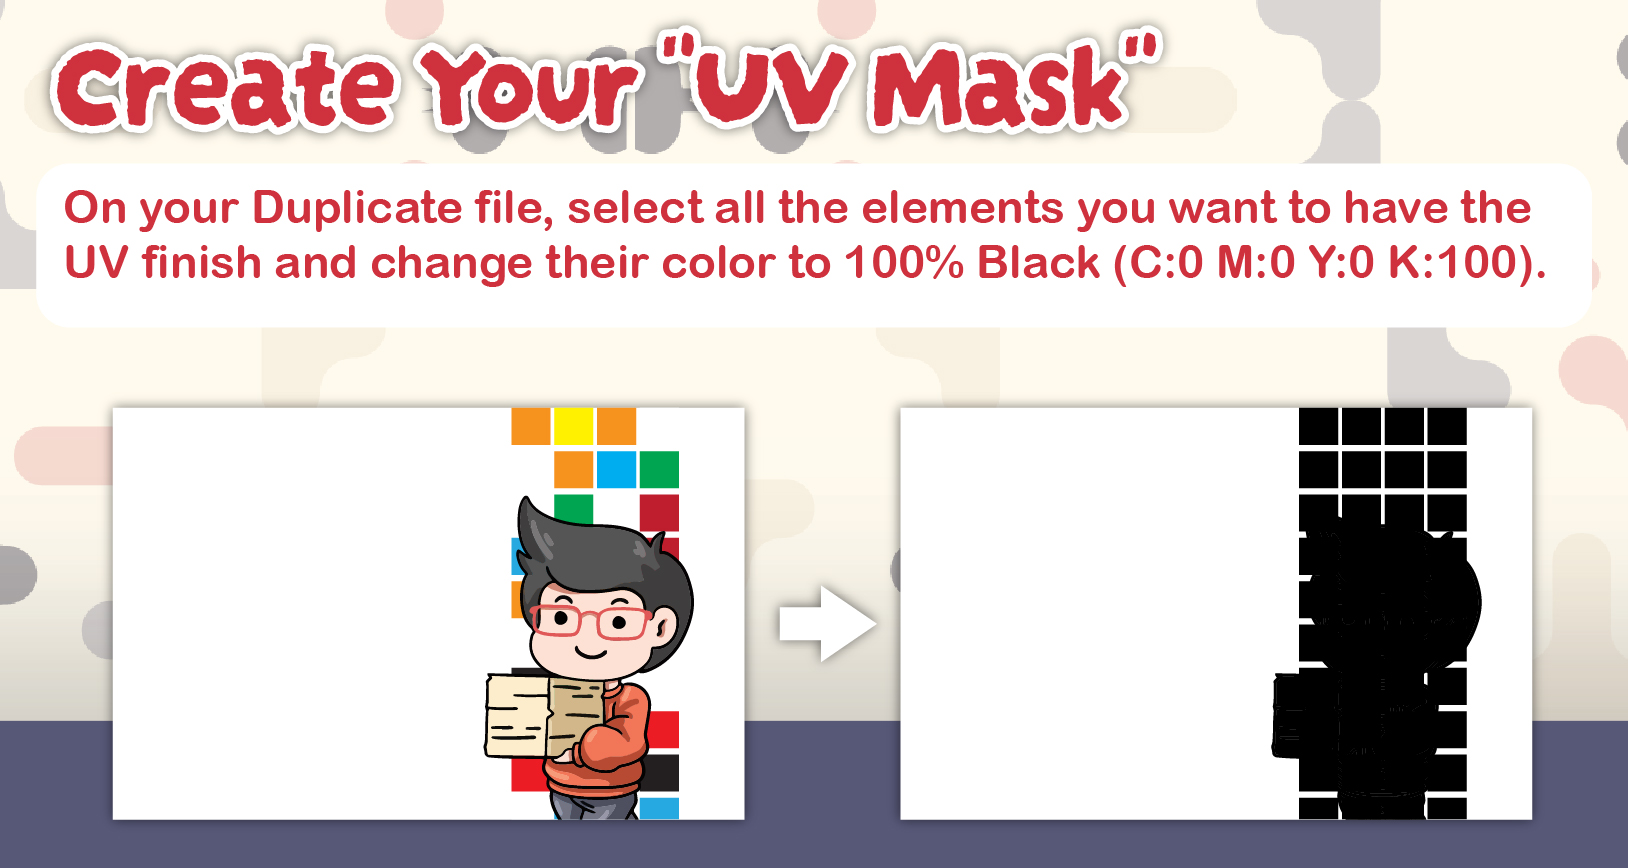
3. Create Your "UV Mask"
On your Duplicate file, select all the elements you want to have the UV finish and change their color to 100% Black (C:0 M:0 Y:0 K:100).
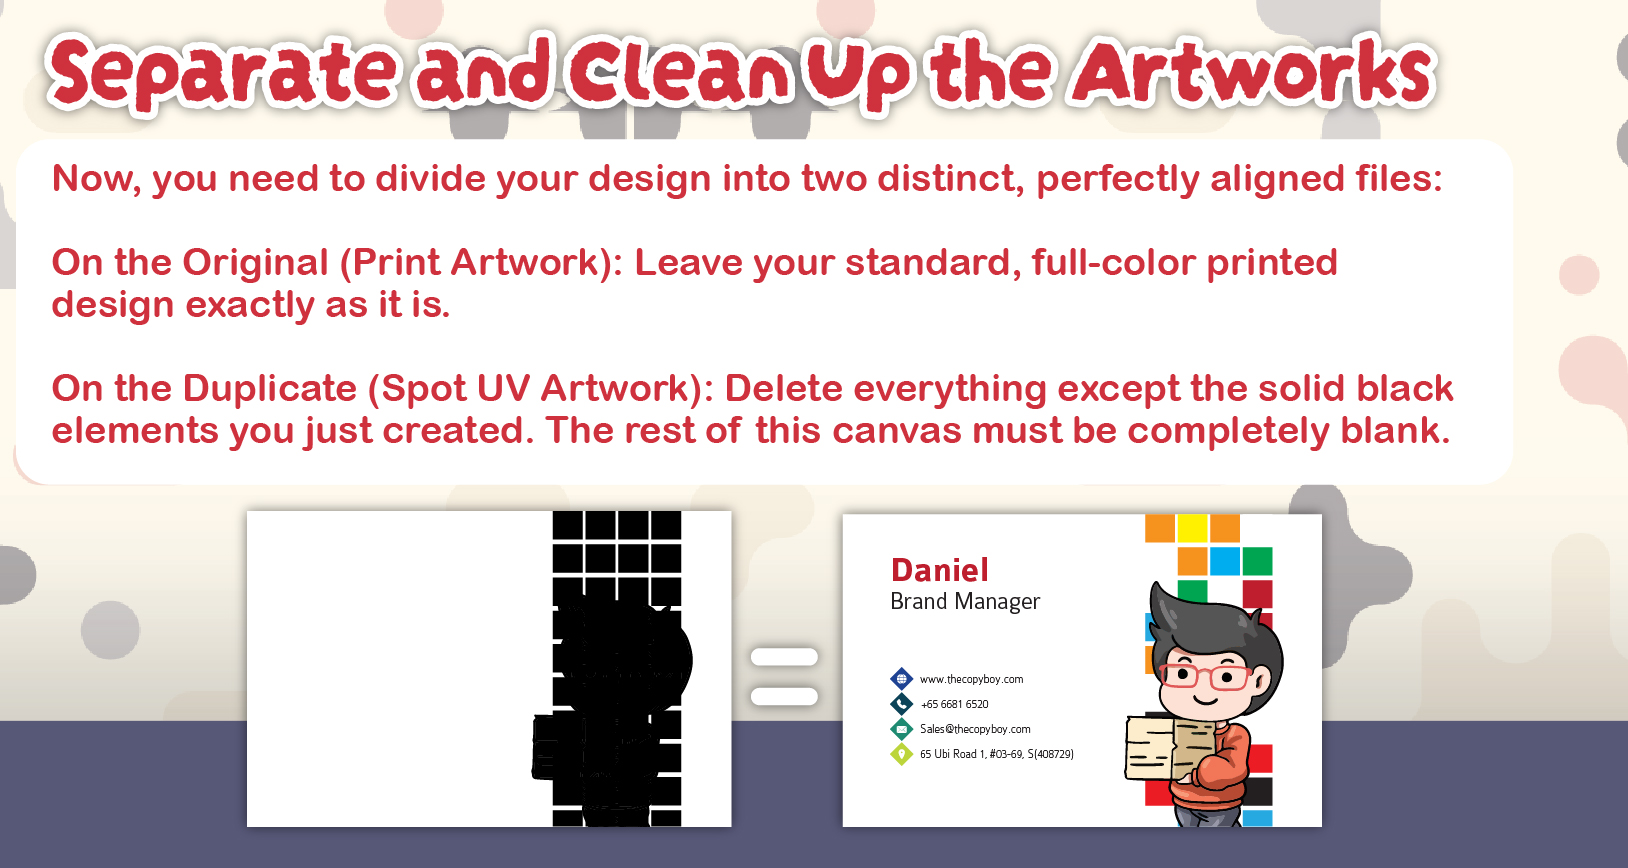
4. Separate and Clean Up the Artworks
Now, you need to divide your design into two distinct, perfectly aligned files:
On the Original (Print Artwork): Leave your standard, full-color printed design exactly as it is.
On the Duplicate (Spot UV Artwork): Delete everything except the solid black elements you just created. The rest of this canvas must be completely blank.
The Final Product
By providing these two perfectly aligned files, the printer can print your standard full-color artwork first, and then use your “UV Mask” file as a digital guide to apply the clear, raised gloss exactly where you want it!