What is a Bleed?
A bleed refers to the artwork that extends beyond the final trim size of your document. Because the precision cutting equipment used in commercial printing can shift slightly, including a bleed ensures your background colors and foil details extend perfectly to the edge, preventing any unwanted white borders.
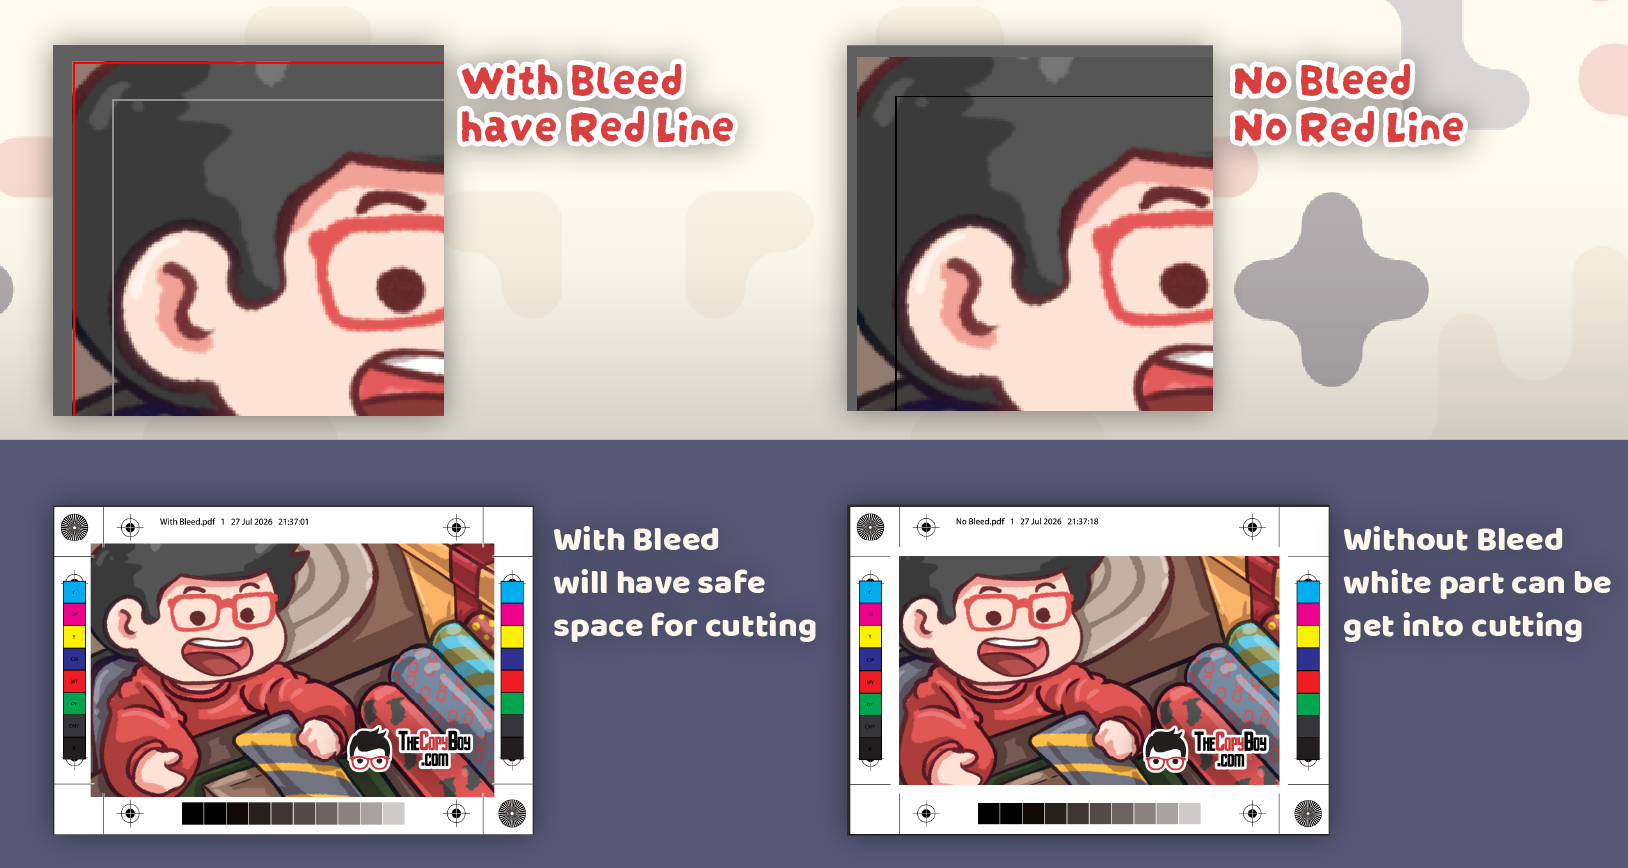
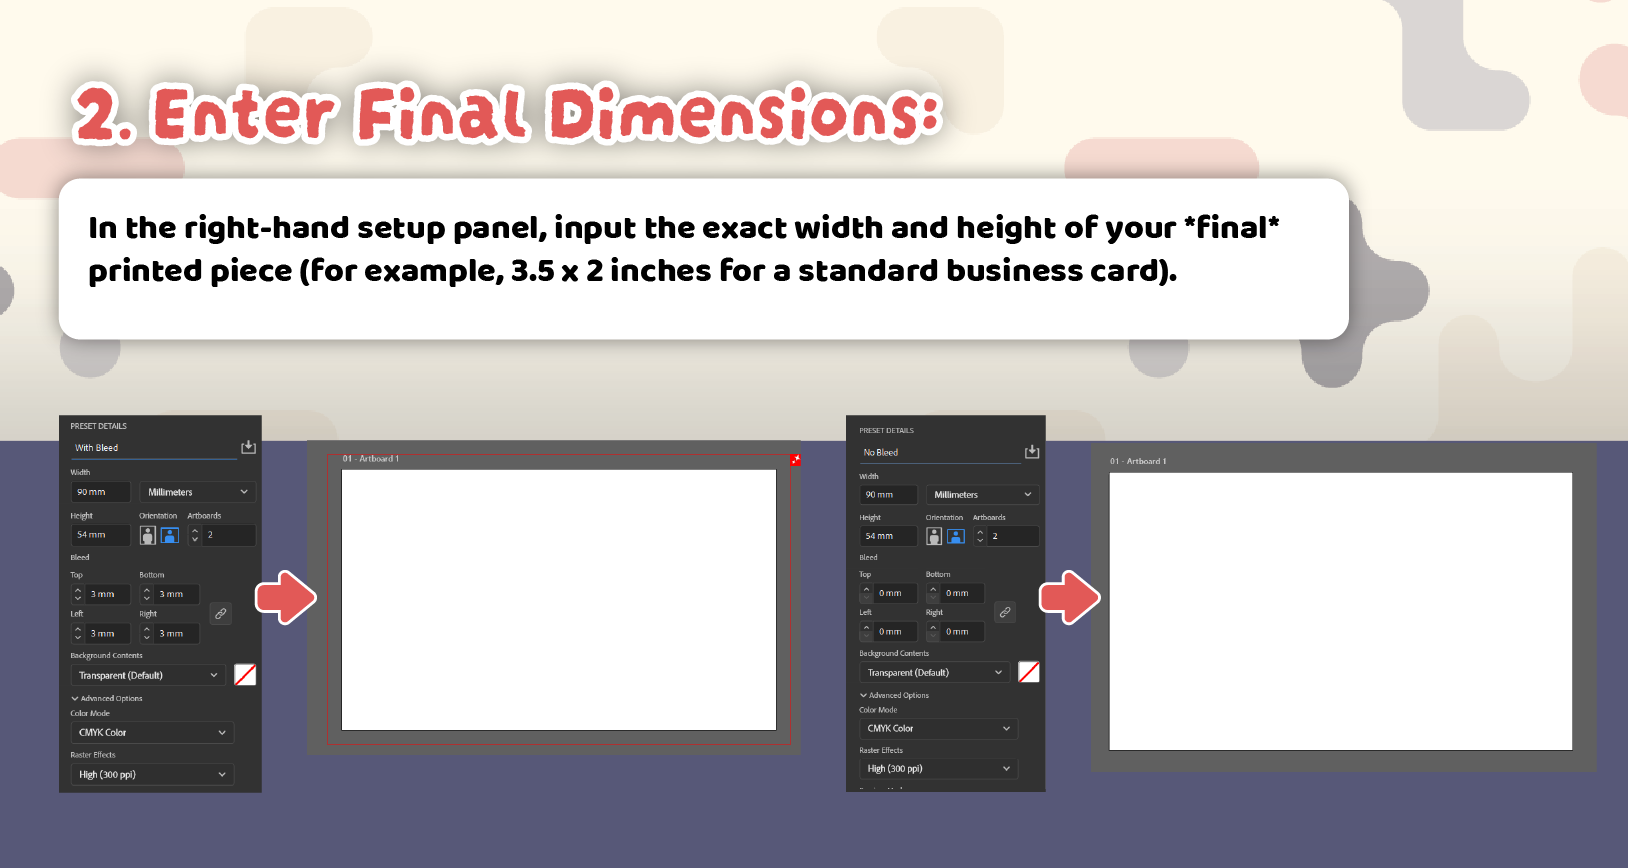
Visually, an artboard set up with a bleed will display a distinct red line around the border, which provides a safe space for cutting. Without a bleed, there is no red line, meaning white unprinted areas can accidentally end up in the final cut.
Below, we will walk you through exactly how to set up your files in Adobe Illustrator so they are completely print-ready.
Setting Up Bleeds for a New Project
If you are starting a new project from scratch, adding a bleed takes just a few seconds during the initial setup.
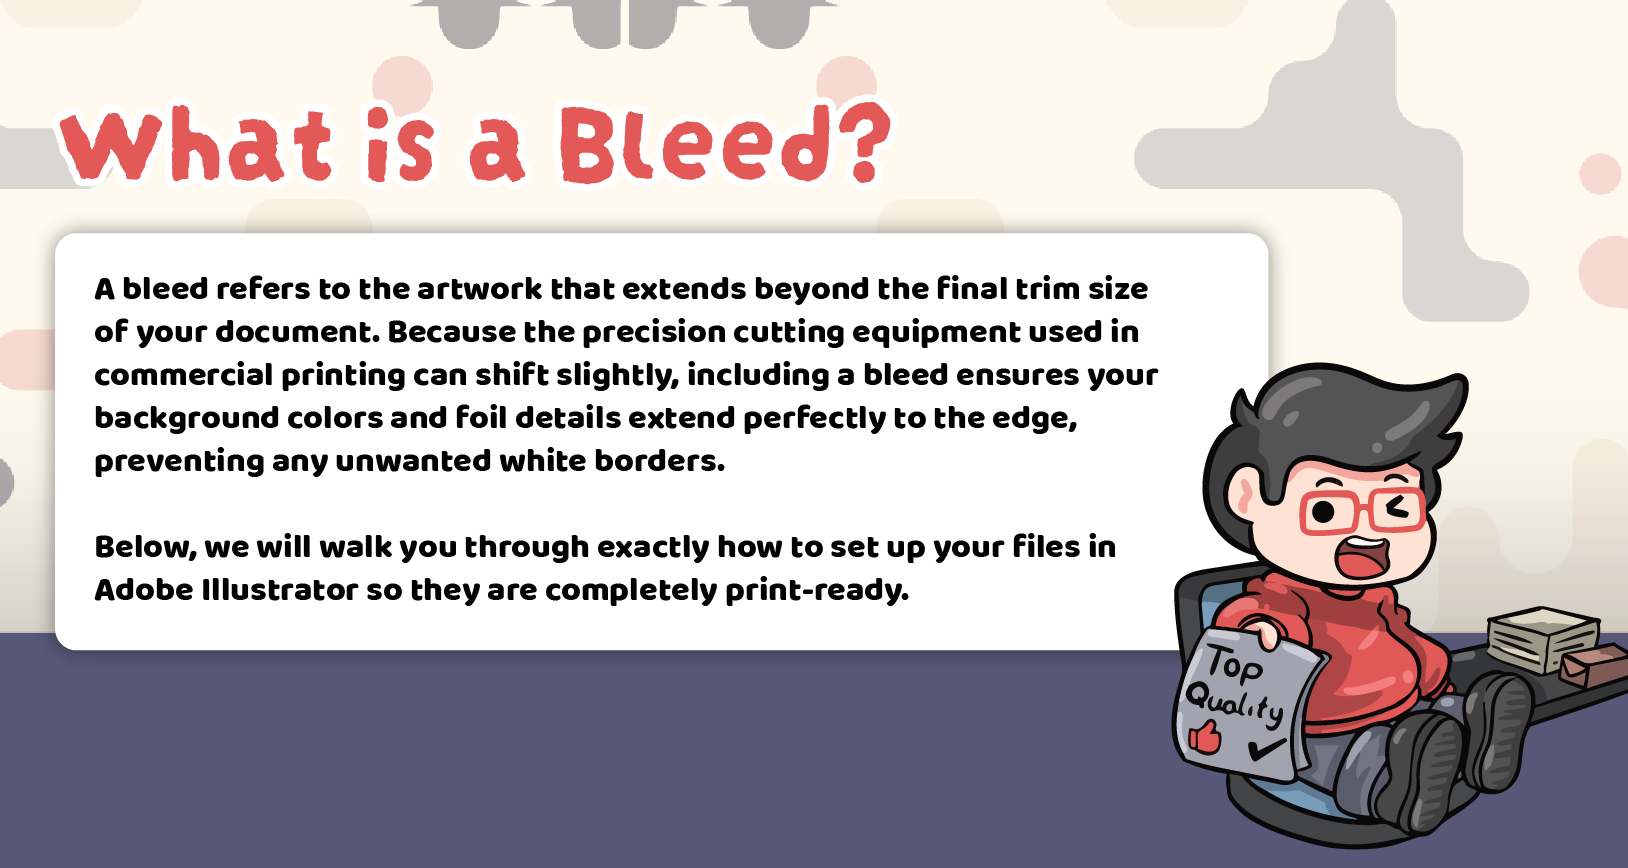
Create a New Document: Open Adobe Illustrator and select File > New (or press
Cmd/Ctrl + N).Enter Final Dimensions: In the right-hand setup panel, input the exact width and height of your final printed piece (for example, 3.5 x 2 inches for a standard business card).
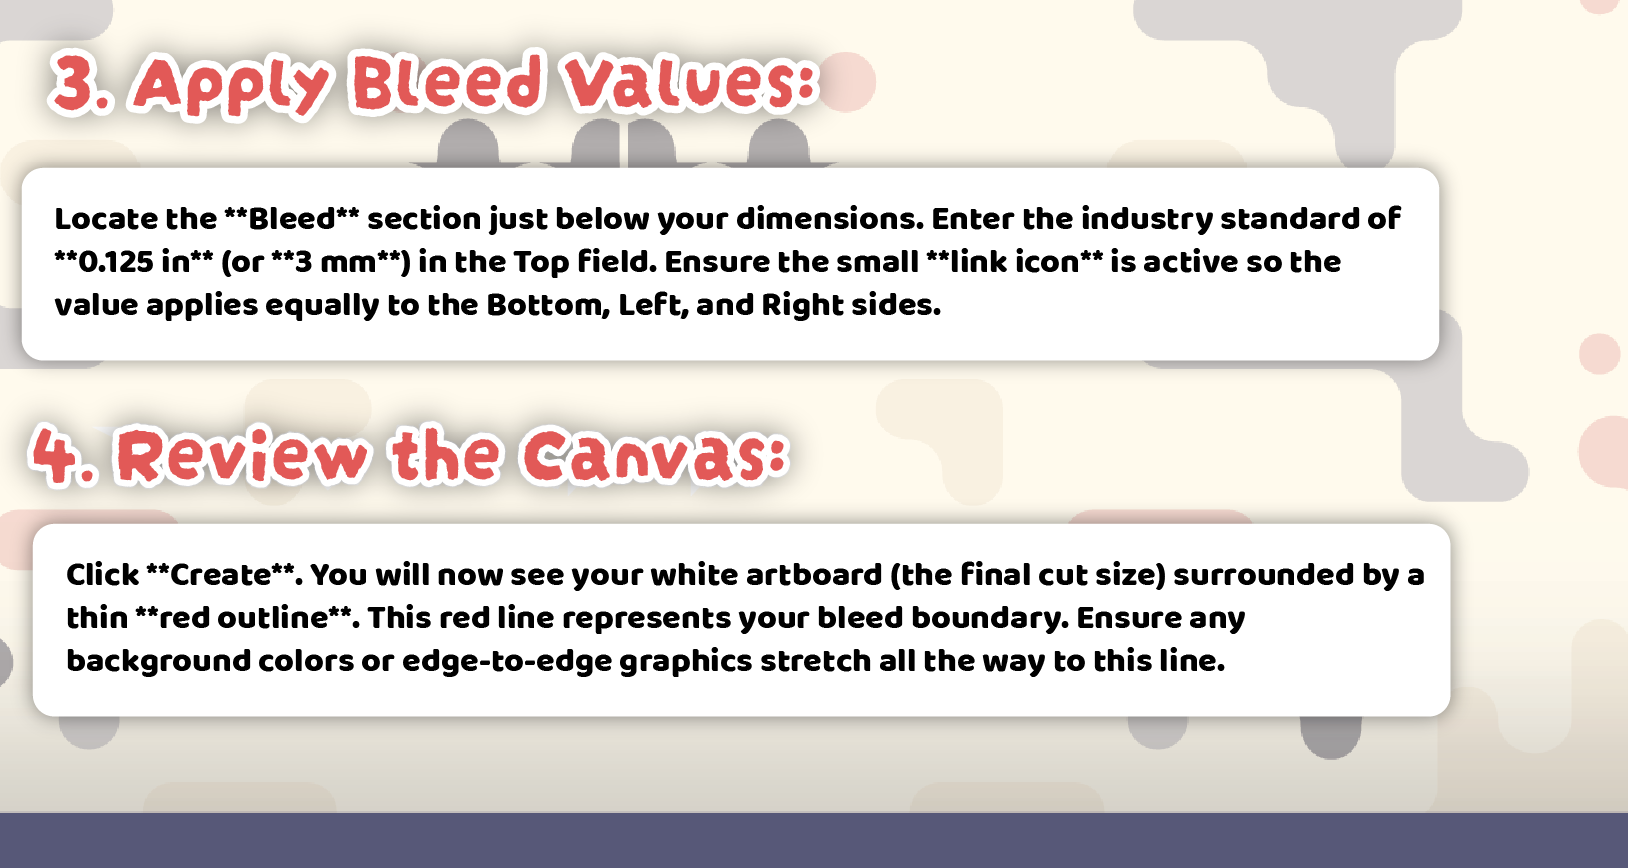
Apply Bleed Values: Locate the Bleed section just below your dimensions. Enter the industry standard of 0.125 in (or 3 mm) in the Top field. Ensure the small link icon is active so the value applies equally to the Bottom, Left, and Right sides.
Review the Canvas: Click Create. You will now see your white artboard (the final cut size) surrounded by a thin red outline. This red line represents your bleed boundary. Ensure any background colors or edge-to-edge graphics stretch all the way to this line.
Adding Bleeds to an Existing File
If you already have a design in progress, it is incredibly easy to adjust your workspace to include a bleed without starting over.
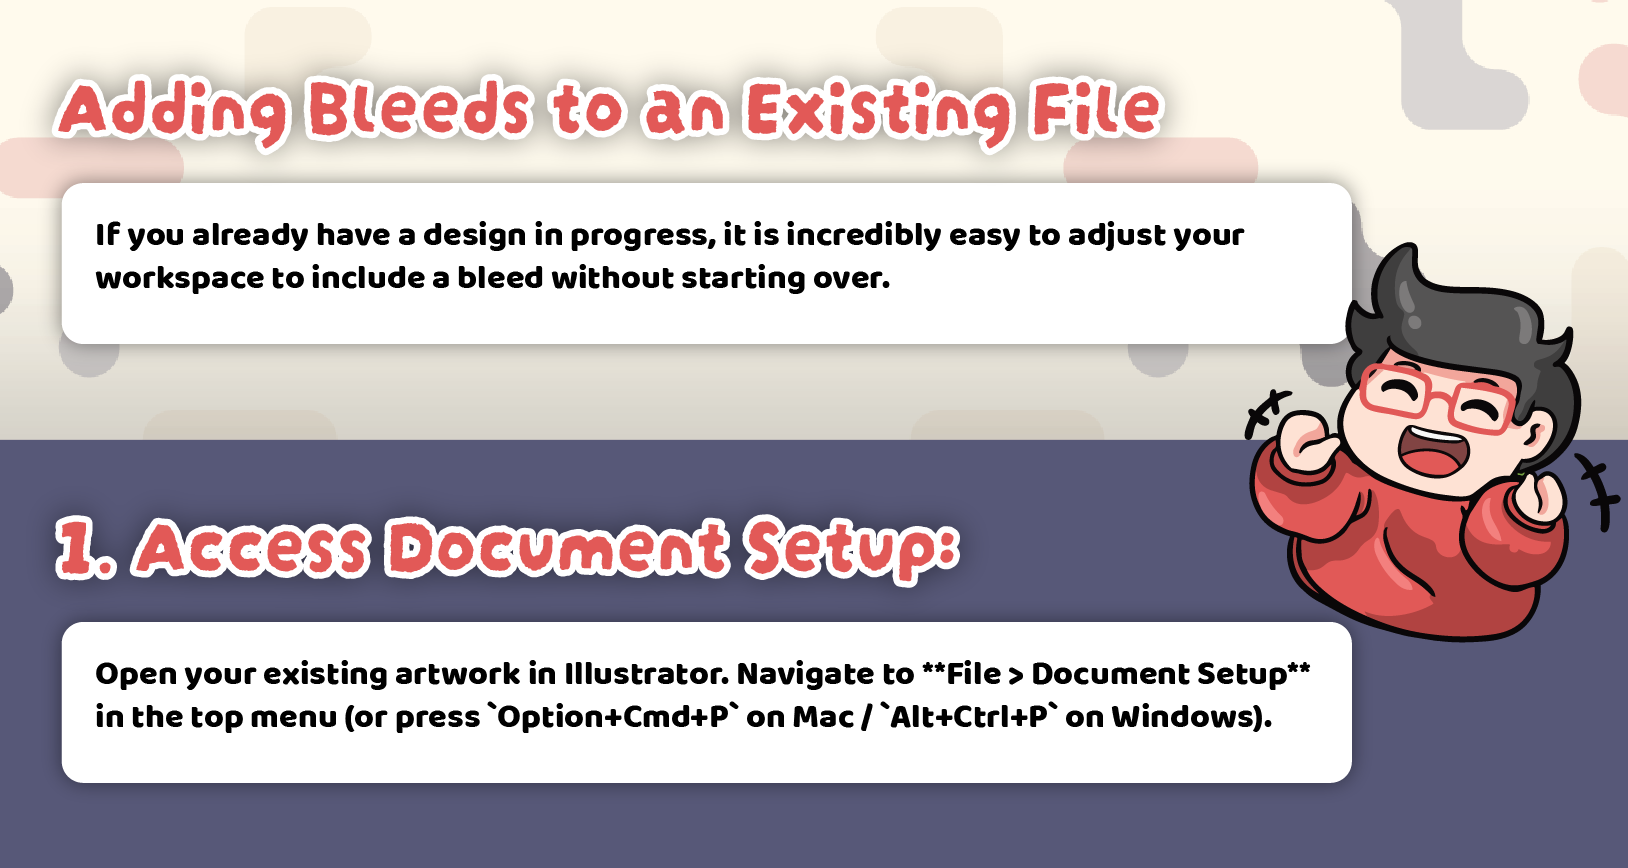
Access Document Setup: Open your existing artwork in Illustrator. Navigate to File > Document Setup in the top menu (or press
Option+Cmd+Pon Mac /Alt+Ctrl+Pon Windows).Input Bleed Settings: In the pop-up window, find the Bleed section and enter 0.125 in (or 3 mm). Confirm that all four sides are linked, then click OK. The red bleed guide will now appear around your artboard.
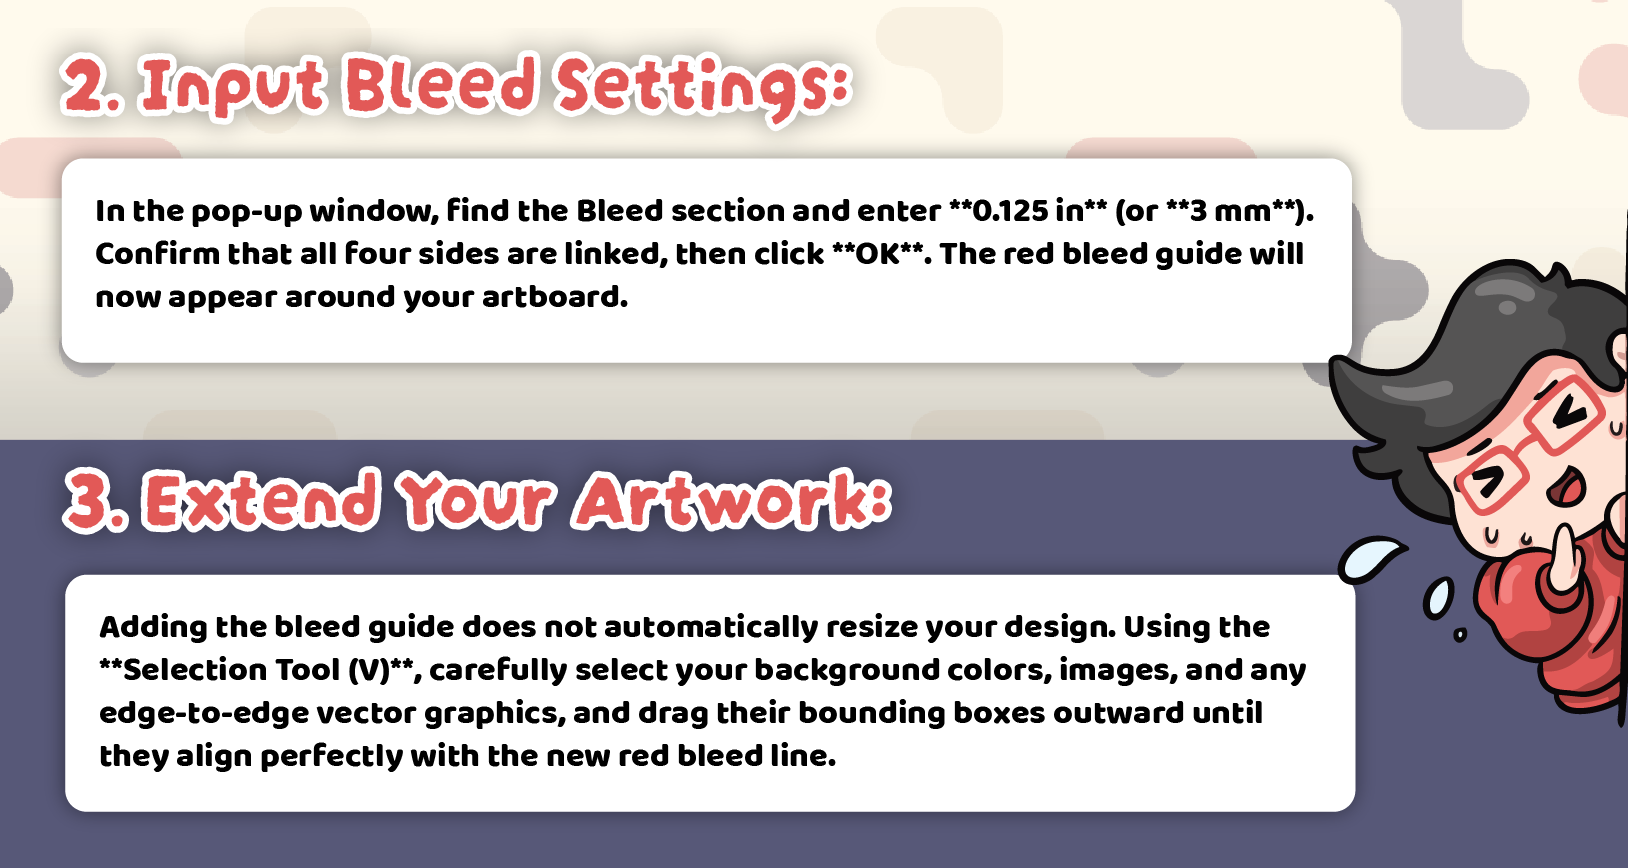
Extend Your Artwork: Adding the bleed guide does not automatically resize your design. Using the Selection Tool (V), carefully select your background colors, images, and any edge-to-edge vector graphics, and drag their bounding boxes outward until they align perfectly with the new red bleed line.
Exporting Your Print-Ready PDF
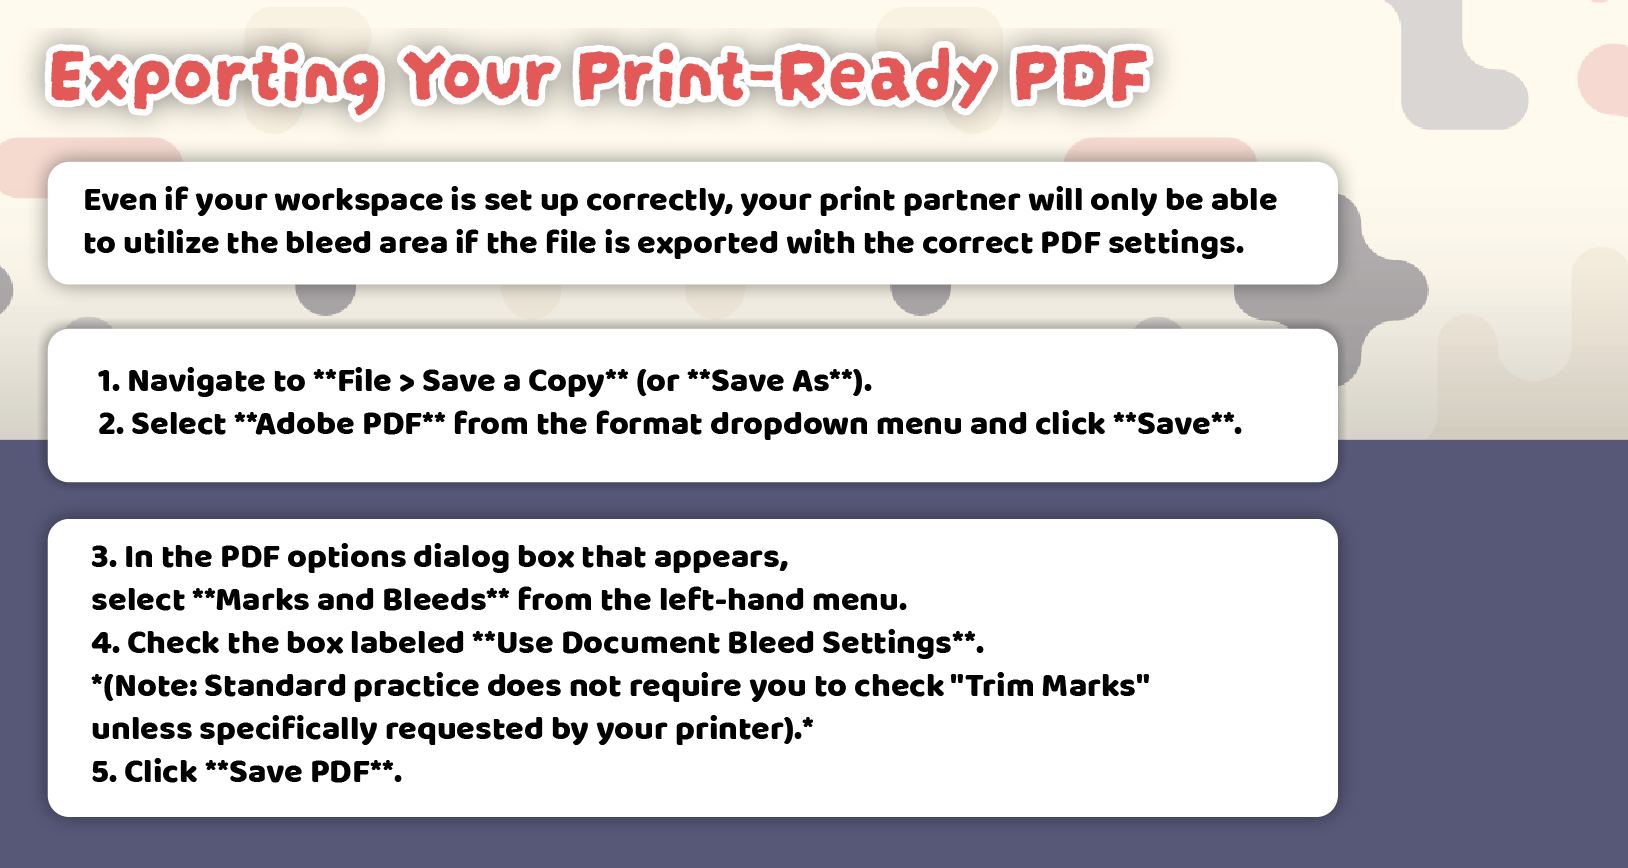
Even if your workspace is set up correctly, your print partner will only be able to utilize the bleed area if the file is exported with the correct PDF settings.
Navigate to File: Go to File > Save a Copy (or Save As).
Choose PDF Format: Select Adobe PDF from the format dropdown menu and click Save.
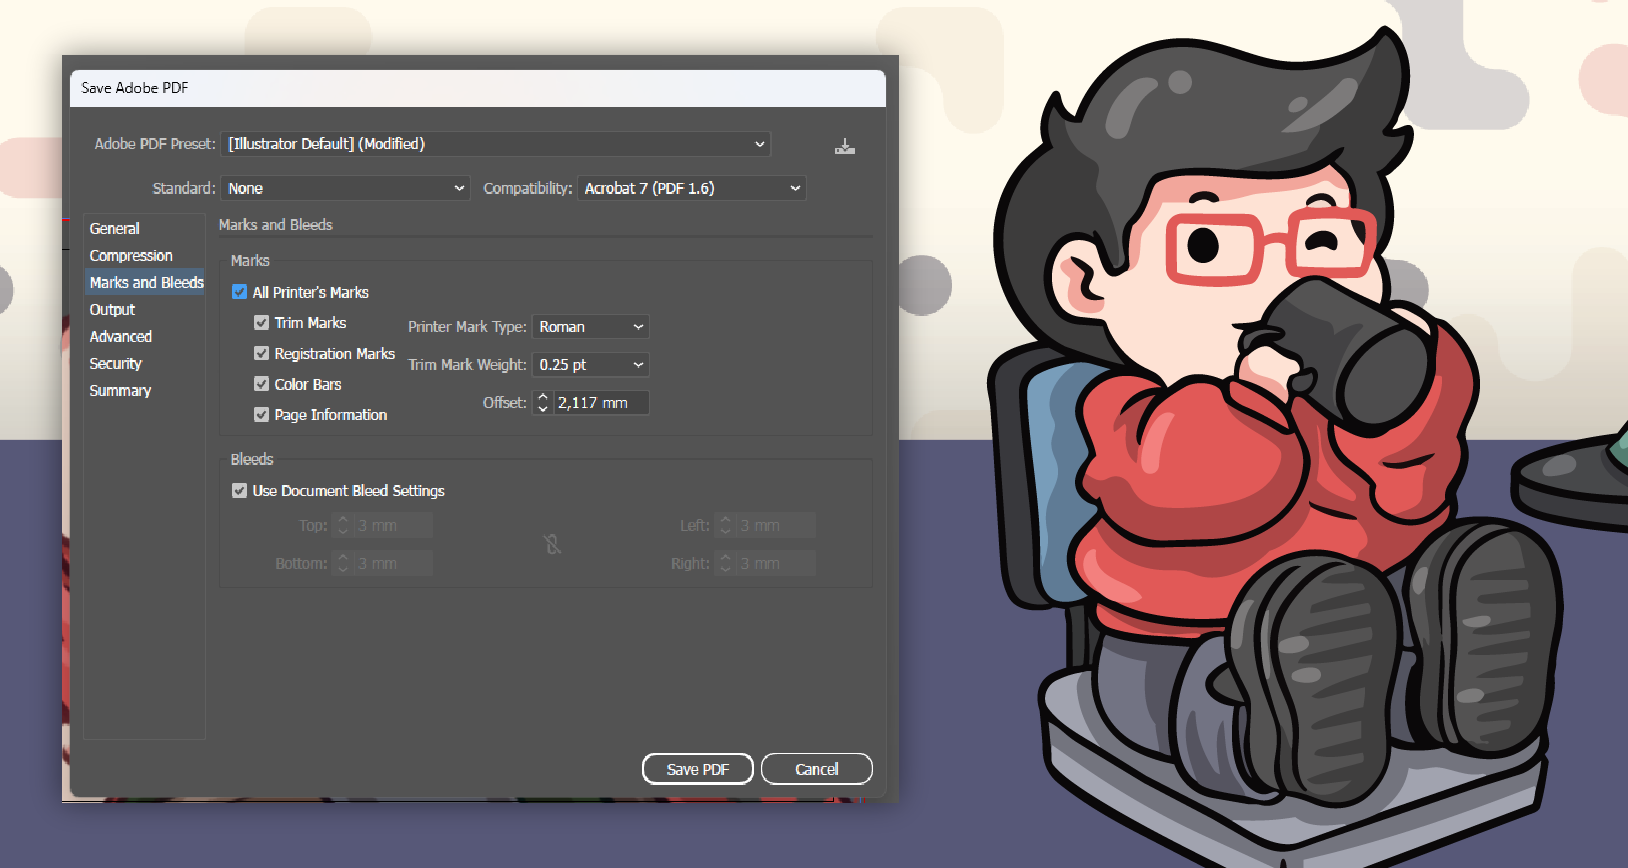
Adjust PDF Options: In the PDF options dialog box that appears, select Marks and Bleeds from the left-hand menu.
Enable Bleed Settings: Check the box labeled Use Document Bleed Settings. (Note: Standard practice does not require you to check “Trim Marks” unless specifically requested by your printer).
Save: Click Save PDF.
Before You Export: Check Your Ink Coverage
Bleed is only half of a print-ready file. The other half is color. Work in CMYK, and keep your four ink values adding up to 240% or less.
Illustrator has no ink-limit preview, so read the CMYK values off your swatches directly. You can also check the exported PDF in Acrobat Pro under Print Production > Output Preview > Total Area Coverage. We work to a maximum of 240% total ink coverage, so if a dark area comes to more than that, bring it down before you send the file. Full detail in our RGB vs CMYK guide.
Exporting Your Print-Ready PDF